
Now, get your PAN card in minutes! Get an 'e-PAN' for free from the comfort of your home using Aadhaar—here is the step-by-step process..
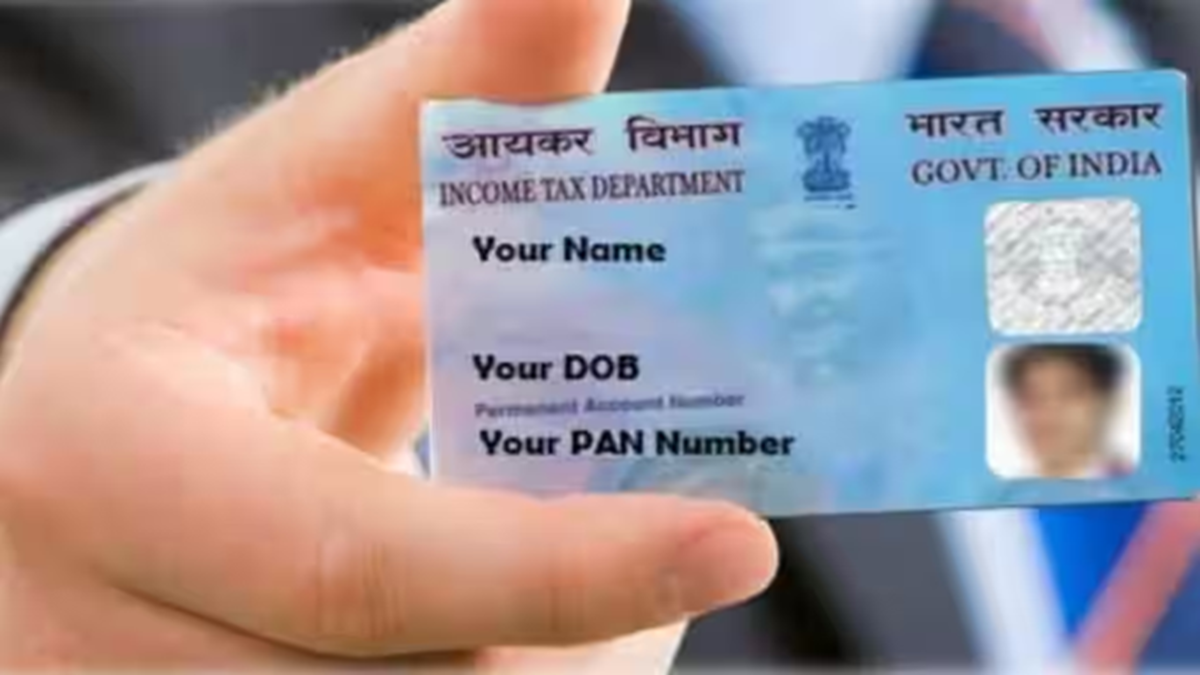
The PAN Card is one of the most essential financial documents today. Whether you want to open a new bank account, file an Income Tax Return (ITR), or carry out any transaction exceeding ₹50,000, these tasks cannot be completed without a PAN card. Previously, obtaining a PAN card involved filling out forms, incurring costs, and waiting weeks for the card to arrive by post.
However, we are now in the digital age. The Income Tax Department has introduced the 'Instant e-PAN' facility, allowing you to obtain your PAN number from the comfort of your home in just 10 minutes—completely free of charge. Let’s look at the complete process.
What are the prerequisites for obtaining an Instant e-PAN?
To avail of this online facility, you must meet the following requirements:
1. You must possess a valid 12-digit Aadhaar number.
2. Your mobile number must be linked to your Aadhaar to enable verification via OTP (One-Time Password).
3. This facility is available only to individuals who have not yet been allotted a PAN card.
4. Access to DigiLocker is required to complete the e-PAN process and provide proof of date of birth.
5. The applicant must not be a minor on the date of application.
How to apply for an e-PAN from home?
Generating a new e-PAN using your smartphone or laptop is very simple.
1. First, visit the Income Tax Department's e-filing portal (incometax.gov.in).
2. On the homepage, look for the 'Quick Links' section on the left and click on the 'Instant e-PAN' option.
3. On the new page, click the 'Get New e-PAN' button.
4. Enter your Aadhaar number, tick the declaration box, and click 'Continue'.
5. A 6-digit OTP will be sent to the mobile number linked to your Aadhaar. Enter it to proceed.
6. Next, the system will redirect you to DigiLocker to verify your date of birth and KYC details. Grant permission to share your proof of date of birth (such as your Class 10 marksheet or birth certificate).
7. If an email ID is updated in your Aadhaar, you can validate it as well, although this is not mandatory.
8. Your full details (such as name, date of birth, and photo) as per Aadhaar will appear on the screen. Review everything and submit.
PC Social Media
