
Scan documents from your Android phone without downloading an app—just follow this step-by-step guide..
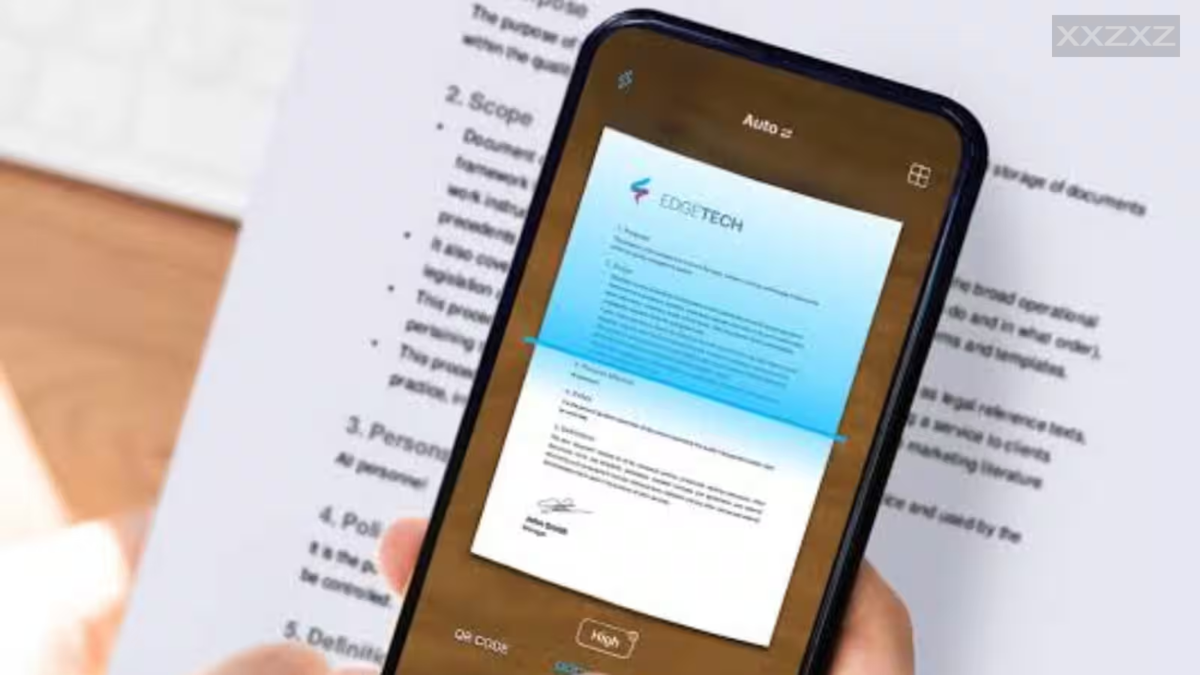
Nowadays, smartphones are no longer limited to just making calls or using social media. You can use them to perform tasks that previously required separate devices like laptops, computers, cameras, or webcams. Phone cameras have improved significantly, making it easy to scan official documents. The biggest advantage is that you don't need to buy or keep a separate scanner; this saves money and simplifies your work. You can scan a document directly using your phone and save it in your preferred format.
If you are wondering how to easily scan documents using your Android smartphone without downloading any third-party apps, here is a step-by-step guide to help you.
How to scan documents on an Android phone using the Google Drive app
If you have the Google Drive app on your Android phone, you can scan documents without needing a separate scanner or a third-party app. The process is quite simple; just follow these steps:
Step 1: Open the Google Drive app on your Android smartphone.
Step 2: Tap the Camera button located at the bottom right of the screen.
Step 3: Position the camera so that all four corners of the document are clearly visible within the frame.
Step 4: You will see a blue outline around the document, indicating which part of the image will be included in the scan. You can adjust the corners to include more or less of the document as needed.
Step 5: Tap the Capture button to take a photo of the document.
If you need to scan multiple documents, you can switch between Manual and Auto Capture modes.
Step 6: Once the document is scanned, you can make edits to it. You can use the 'Crop and Rotate' feature to crop or rotate the document. Tap on 'Filter' to apply filters, and use the 'Clean' option to remove unwanted elements.
Step 7: If you wish to add multiple pages to the same document, tap the 'Add' button.
Step 8: If the scanned image isn't right, tap 'Retake' to capture it again. To remove a page, use the 'Delete' button. Once all pages are correct, tap 'Done'.
Step 9: Now, enter a name for the scanned document or select the name suggested by Google Drive.
Step 10: Next, choose the format in which you want to save the document; for instance, you can save it as a PDF or JPG file.
Step 11: Select the folder where you want to save the scanned document.
Step 12: Finally, tap the 'Save' button. Your scanned document will be saved in the selected folder.
How to scan documents using the Android phone's camera app
Some OEMs include a built-in document scanner within the default camera app of their Android phones:
Step 1: First, open your phone's camera app.
Step 2: Point your phone's camera at the document. Ensure the document is placed on a flat surface.
Step 3: Depending on your OEM, you will see a yellow page icon on one side of the screen. Tap on that page icon.
Step 4: If you want to scan the document again, you can tap the 'Retake' button.
Step 5: Now, tap 'Save' to save the scanned document. It will then be saved in your Gallery app or Files folder.
