
Activate your Airtel eSIM from the comfort of your home without visiting a store; here is the complete step-by-step process..
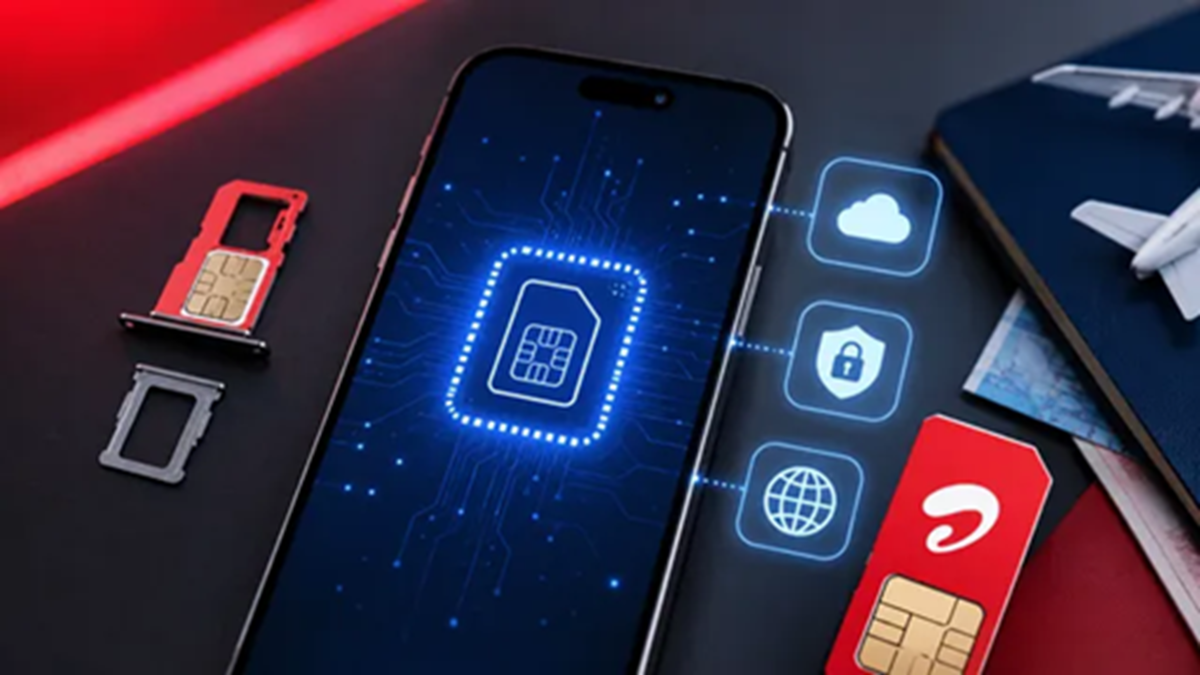
Until a few years ago, the eSIM (Embedded Subscriber Identity Module) was not a widely popular feature; however, its adoption by smartphone companies has significantly boosted its acceptance among travelers and business users. It is a digital version of the traditional SIM card that can be downloaded and installed directly onto a compatible smartphone. Unlike a standard SIM, it does not need to be physically inserted into the device to function. This also simplifies the process of switching phones, as users can transfer their eSIM profile to a new compatible device without handling a physical card. Additionally, it helps brands save space within the handset, allowing for the inclusion of other useful features.
In India, Airtel offers eSIM support for select smartphones from brands such as Apple, Google, Samsung, Motorola, and Vivo. Airtel's eSIM can either work alongside a physical SIM card or replace it entirely. If you have recently purchased an eSIM-compatible smartphone or wish to convert your physical SIM to an eSIM, here is a step-by-step guide to activating an Airtel eSIM.
Follow these steps to activate your Airtel eSIM:
Download the Airtel app and log in using your phone number.
Select the 'Shortcuts' section from the homepage.
Click on the 'Upgrade to eSIM' icon.
Choose either 'This device' or 'Another device' based on your preference.
Enter your device's 32-digit EID number to generate an OTP.
Enter the OTP received on your registered Airtel number.
After submitting the eSIM request, you will receive a verification call from Airtel. Confirm the request during the call to proceed.
Your Airtel eSIM request will soon be ready for setup, allowing you to download the eSIM to your smartphone. The eSIM will activate within two hours of downloading the profile. After switching from a physical SIM to an eSIM, activate the new eSIM profile, remove the physical SIM, and restart your device.
Disclaimer: This content has been sourced and edited from Dainik Jagran. While we have made modifications for clarity and presentation, the original content belongs to its respective authors and website. We do not claim ownership of the content.
